Here is a guide on two different roller removal procedures from Pella. Sorry about the quality of the images (they were originally faxed over and then fixed up by our graphics department). FYI: here is a guide that describes a similar procedure for a different Pella roller.
Removing the old roller
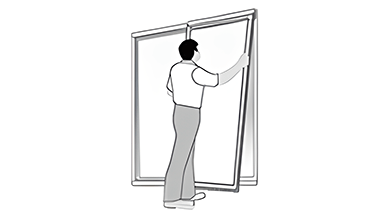
- Remove the vent panel and set it in a secure position to prevent damage to the panel.
- Remove the plastic caps from the adjusting holes located at the bottom of the vent panel.
- Using a #2 x 8" long phillips head screwdriver, turn the roller adjustment screw clockwise until the screw head clears the adjusting hole.
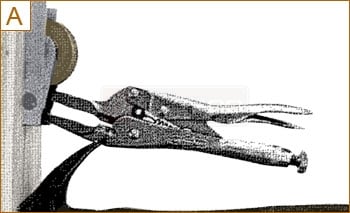
- Procedure A Lock a long-nosed Vise-Grip® on the pin which connects the inner and outer housing. Hook the Vise-Grip® with a claw hammer and pry with the hammer as though pulling a nail (see image A).
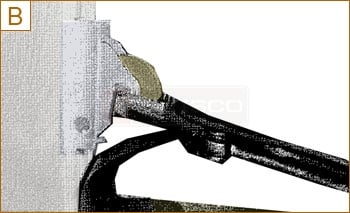
- Procedure B Lock a standard Vise-Grip® on the roller axle. Hook the Vise-Grip® with the hammer claw and pry with the hammer as though you were pulling a nail (see image B).
Installing the new roller
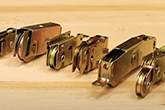
- Insert a new roller and housing by driving the housing into the bottom rail with a hammer (on the housing, not the roller!). Take care not to damage the roller or axle.
- Reinstall the vent panel.
- Test operation and adjust the roller height accordingly.


![How to Replace a Patio Sliding Glass Door Roller [1080p]](../../images/videoThumbnails/81.jpg)