Hi
I am looking for replacement coil balances.
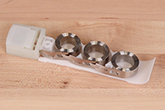
Photos attached.
There is a patent number on the part, hard to read it looks like 4(?).610.108
The sash weighs 26.5lbs and there are 3 coils in the window.
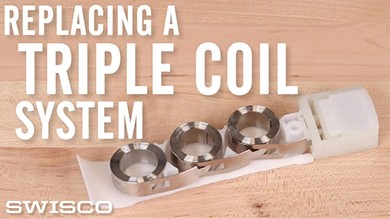
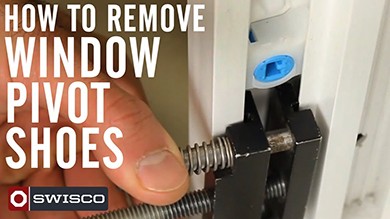
I watched your video, it doesn't look like we have any balance supports in the window.
Many thanks
Helen


|
Tom from SWISCO responded:
September 1, 2023
Hello! Your pivot shoe here appears to match our 15-111. This is compatible with two different size coil spring: either the 3/8" thick Series 165 or the 1/2" thick Series 160. Your next step should be to measure the width of the band on your old coil spring to determine the best option. Since you have 3 springs per side on a 26.5 pound sash, you might be looking at either a 5 or a 4.5 pound option for each spring (depending on which size you have). Please let me know if you'd like clarification on any of the above points. I'd be happy to advise as best as I am able. |
|
|
Tom from SWISCO responded:
September 5, 2023
Great! At 1/2" then the Series 160 is definitely the part you want. As for position in the track, I'm very glad you pointed that out. That is important. You must have the older version of these springs. Many years ago, these were all made with around 60" of travel. Sometime in the recent past, though, everyone in the industry began phasing those out in favor of springs with 30" to 40" of travel, which are much shorter. I've never been sure why, but that's just how they do it now. The consequence of that is that you will need to reposition the spring in the track so that you have enough travel to close your window. Moving them about halfway is a good place to start, but you'll need to take into consideration where they'll install in relation to the tilt latches. Those are the release mechanisms on the top two corners of the sash. Basically, you want to make sure that the new springs are installed under the tilt latches at their lowest point; in other words, when the window is closed. If the springs are installed above the tilt latches, then they're going to bump into each other during normal operation and the window won't even open. As long as the springs are installed under the tilt latch, then everything should be fine. You probably won't even notice a difference after they're installed. Feel free to reach out if you had any other questions! |


|
|
Tom from SWISCO responded:
April 1, 2024
Hey, Helen. This is a very common question for this kind of balance and, to be frank, a major annoyance with the design. To put it bluntly, these are a huge pain to install even in the best of circumstances. The intent of the design is for you to "feed" the balance assembly through the cutout, typically putting the shoe in first and then guiding the rest of it in after (or vice versa, whichever is easier). But good luck doing that while also keeping all the springs in place, and keeping the frame spread enough to snap it in. I can't tell you how many times I've scraped my thumb installing a coil balance. The only trick to it is the one you've already surmised: cutting the hole so that it's a little bigger. You don't want it to be too big, though, since the last thing you want is for the assembly to fall out of the hole during normal operation. But you can afford a little more space to make things a little easier. Otherwise, the only thing I can tell you with certainty is that you're not doing anything wrong. In fact, your situation sounds pretty dang familiar to my daily routine. That's just how these balances are, unfortunately. If you haven't already, I recommend watching our video on the topic. We go over a few of these points and you may find it helpful to have a visual example. |
|
|
Tom from SWISCO responded:
April 2, 2024
Anytime! Best of luck with this project and please don't hesitate to reach out if we can be of any further assistance. |