Adjusting and Replacing a Non-tilt Spiral Balance
Non-tilt windows aren’t as common as they once were, so information about maintaining and repairing them can be hard to come by. If you have spiral balances supporting your fixed window sashes, this is the guide you’ve been looking for.
When replacing or adjusting spiral balances in a non-tilt window, start with the window sash in the lowered position.
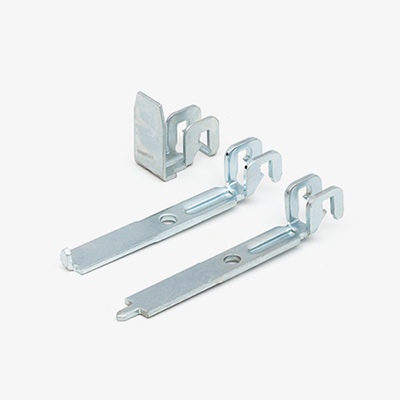
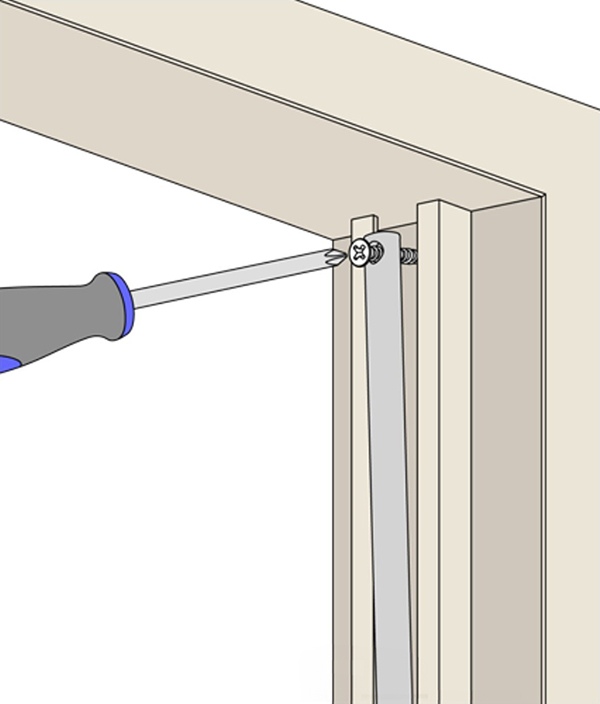
Insert replacement balances through the top of the sash groove with the spiral holding the attachments facing downward.
Attach the balance with a screw through the top of the spiral tube, lining it up with the original installation hole.
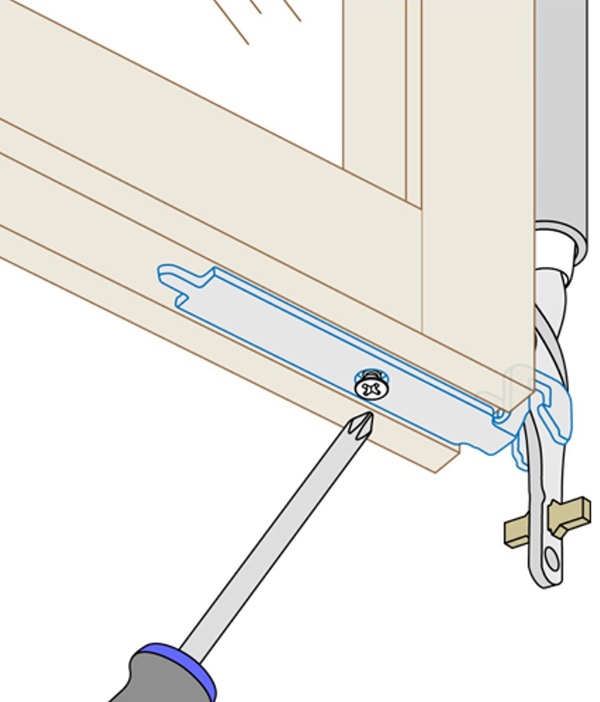
Next, have someone assist you by supporting the sash high enough to allow you to access the spiral attachment. After making sure that the spiral is fully retracted into the tube, hook a non-tilt charging tool to the end of the spiral and pull it down about 2” to prevent damage while charging.
Start by turning the spiral clockwise 2-3 times, following one turn as needed until you reach the appropriate tension. Both balances will require the same number of turns for equal tension.
Attach the spiral to the bracket fixed to the bottom corner of the sash using the same tool.

PRO TIPS
- Make sure that the spiral rod is not bent while handling or during charging.
- Do not apply more tension than necessary to balance the sash. The same number of turns should be applied to each balance for equal support.
- Be sure balances are centered within the jamb.
- If the bracket used to anchor the spiral to the sash is rusted or broken, replace it using the existing installation holes before installing new balances.
- Be sure that the metal bracket is mounted far enough from the jamb to prevent rubbing.